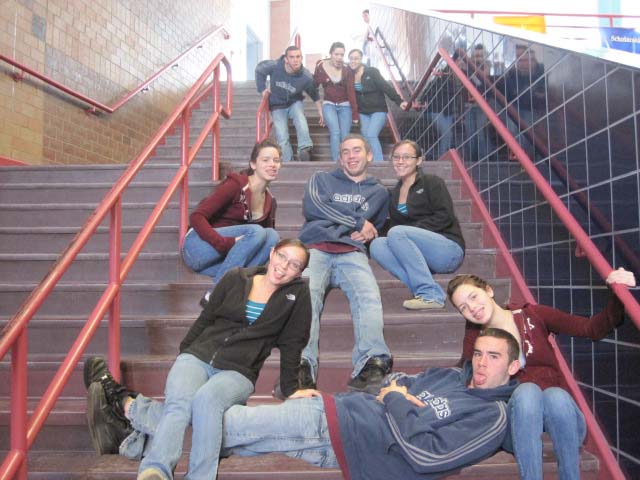
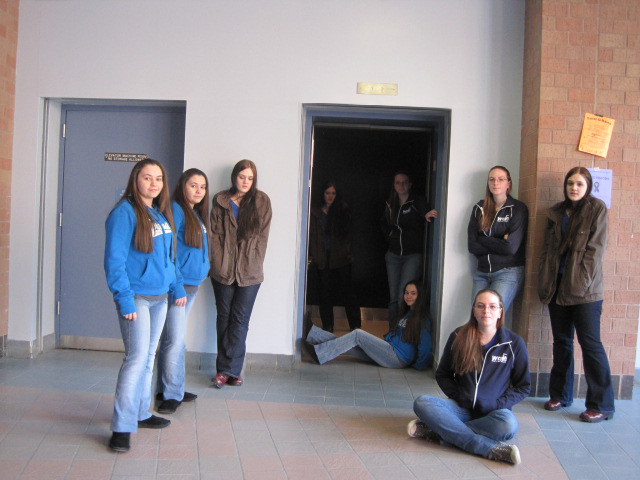
14. 3 Pictures in one.
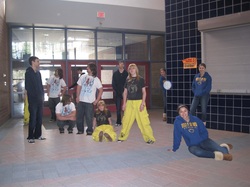
For this project, you are going to use a tripod and take three pictures (with the help of another classmate) of yourself in three different positions, and combine those pictures into one project.
Step 1
Set up a digital camera on a tripod. Set the camera for a wide shot (zoom all the way out). You may work in groups. Have a classmate take your picture. IMPORTANT: Do not move the camera, zoom in or out or move the tripod. Everything needs to be the same for every shot or it will not work. Move to a different position, be aware of how far you can mover to stay in the shot. Take another picture. Move to a third position, take another picture.
Step 2
Load your pictures to your computer. Open one picture in photoshop. Open another picture and drag it on top of the first picture you opened in photoshop. Drag your third picture into the photoshop project. You should now have one project with three layers, each layer holding one picture.
Using the layer palette click the eye to hide the top layer and the bottom layer. With the middle layer selected, use the magic wand or eraser tool to erase everything but you. When you are finished press the eye to hide the middle layer. Press the eye on the top layer to unhide that layer and again use the magic wand or eraser tool to erase everything but you.
Now unhide each layer and if you positioned everything correctly you should have one picture with you in it in three different positions. You may have to rearrange your layers to create the best design.
Step 3
When you finished with your project, open your weebly page and add your three in one picture to a slideshow. Publish your page.