11. Andy Warhol Project - in progress
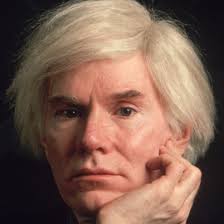
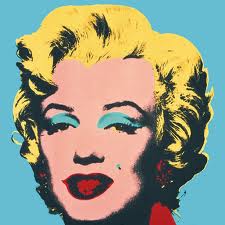
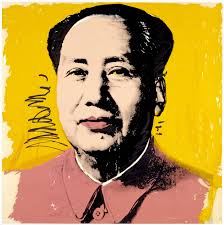
Andy Warhol August 6, 1928 – February 22, 1987) was an American artist who was a leading figure in the visual art movement known as pop art. His works explore the relationship between artistic expression, celebrity culture and advertisement that flourished by the 1960s. After a successful career as a commercial illustrator, Warhol became a renowned and sometimes controversial artist.
|

|
|
Step 1
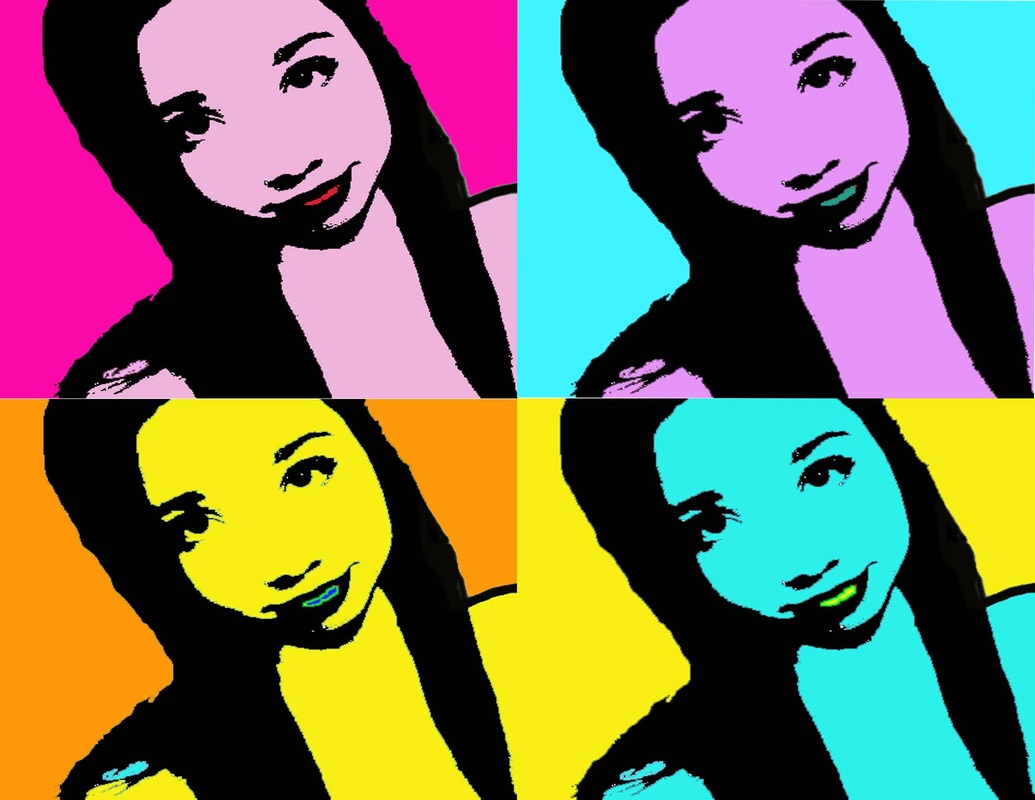
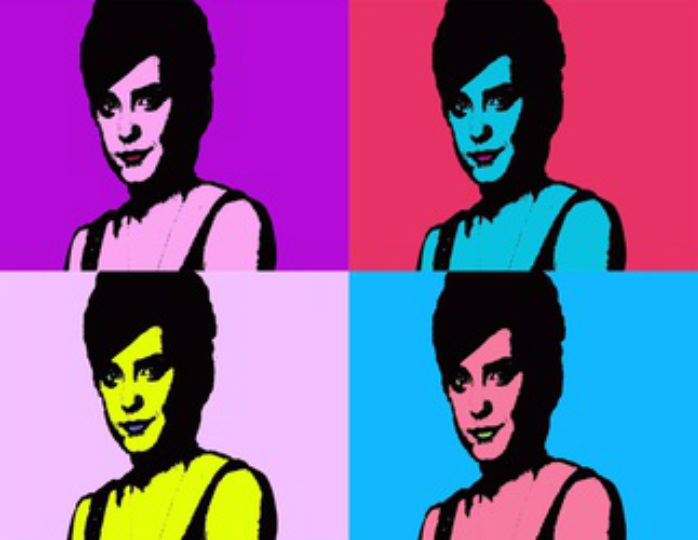
Find a picture of a person on-line. Open up photoshop. Open up your picture in photoshop. Create a new project that is 5.5 width by 4.25 height, resolution 150. Drag your picture into the new project and resize it to fit. Under effects, photo effects, select threshold. Drag the triangle to convert your picture to black and white. Go to effects, and choose gradient map, not gradient. When you select gradient map you have the opportunity to choose colors for both the black and white areas of your image. After you select the two different colors by clicking on the arrows at each end of the gradient map. Press apply. Add another layer to your project. Select a different color and fill that layer. Drag that layer below your project layer. Use the magic wand to select areas at the edges of your image (background) and press delete. The color on the new layer should show through. Choose another area of your image and use the paint bucket to fill that area. When you are finished, you should have an image that contains at least four different colors. Save this as both a photoshop file, you will use this 3 more times, and as a jepg, AW1.jepg
Open up the photoshop file. You can remove the gradient map by deleting it from the layer menu, or you can use the paint bucket to fill the different areas with different colors. Save the new image as a jepg, AW2.jpeg.
Continue to do this until you have 4 different images that contain at least 4 different colors.
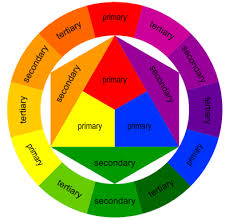
When you are choosing you colors, that some time to think about your choices. Do you want to use cool colors, (blues, greens, purples) warm colors (oranges, reds, yellows) think about the color wheel from Art 1: Primary, secondary, tertiary, and complementary colors.
When you have all for images created, you are going to create a new project that is 11 inches width x 8.5 inches height, 150 resolution. Using your rulers (view show rulers) and the black arrow move tool, click on a ruler to the left and drag a blue guide line to the 5.5 measurement at the top of the page. Drop the guideline. Your project is now divided in half horizontally. Using the black arrow click on the ruler at the top of the project and drag a blue guideline to the 4.25 measurement on the left side of the project. Your project is now divided in half vertically. You will now open each of your AW jepgs and drag them on to the new project and line them up with the blue guidelines.
Step 2
You will now repeat this project with an image of yourself. You may or may not go to Facebook to find a picture of yourself based on teacher approval.
Step 2
You will now repeat this project with an image of yourself. You may or may not go to Facebook to find a picture of yourself based on teacher approval.