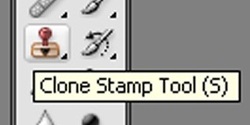
2. Using the Clone Stamp tool.
Fixing the Liberty Bell
Step 1
From the sample files, copy image 3, a picture of the Liberty Bell with the crack in it.
Open Adobe Photoshop.
Paste image 3. Using the rubber stamp tool, pick a point on the left side of the crack. Use the alt key to select a copy point, it looks like a crosshair, and drag over the crack. It should copy the normal part of the bell, over the crack. You may have to adjust the brush size to cover the crack.
Step 2
When you finish fixing the bell, save each image (before and after) as a .jpeg, medium quality. Open your weebly page. Add these images to your slideshow. Publish your page.
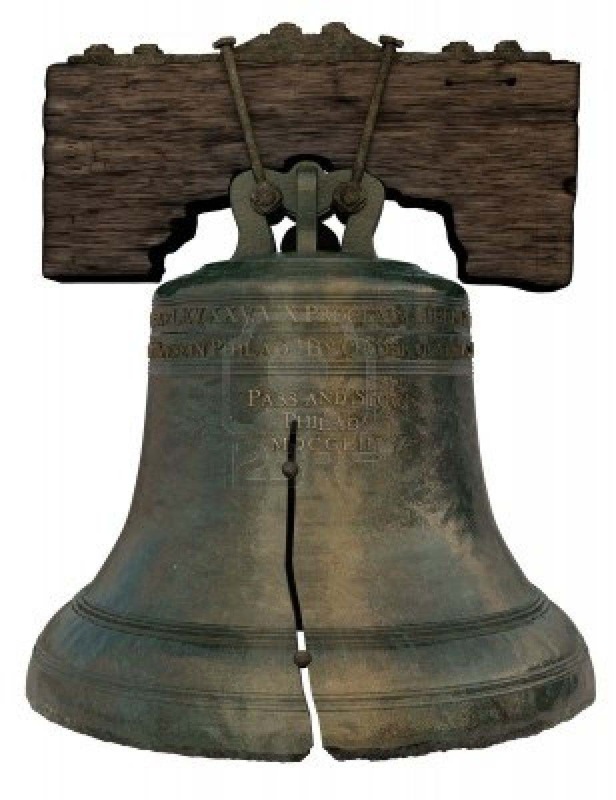
Before
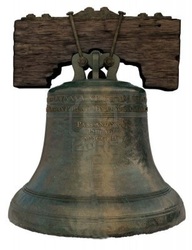
After
