21. Photoshop effects.
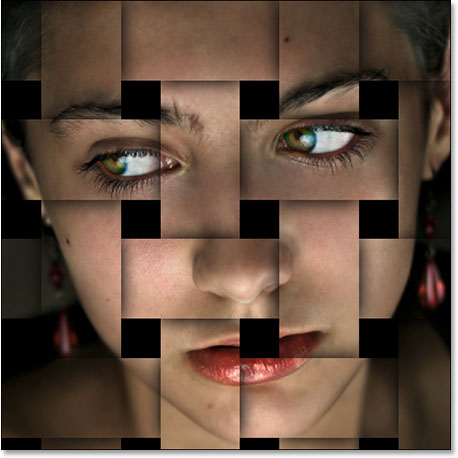
 Click this picture to go to the tutorial.
There are thousands of different effects that you can do in photoshop. For this assignment, you are going to find a photoshop effect from the internet that we have not covered. Watch a tutorial, or follow the step by step instructions to recreate that effect.
Step 1
Go to the internet and search photoshop effects. Two sites that have good tutorials are "41 Nicest Photoshop Photo Effects [Photoshop Tutorials] - Hongkiat", and "50 Excellent Photoshop Photo Effect Tutorials - Hongkait". The challenge can be that they use a newer version of Photoshop so the tools may be in different locations. You may have to make adjustments to the effect.
Step 2
When you finish with your effect, save each image (before and after) as a .jpeg, medium quality. Open your weebly page. Add these images to your slideshow. Publish your page.

|
|
